-
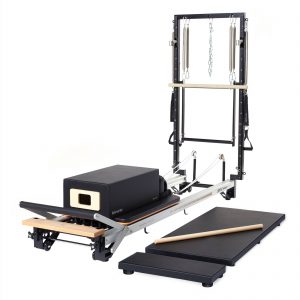 Merrithew SPX Max Plus Reformer Bundle 1 × Original price was: $14,507.90.$13,657.70Current price is: $13,657.70.×
Subtotal: $13,657.70
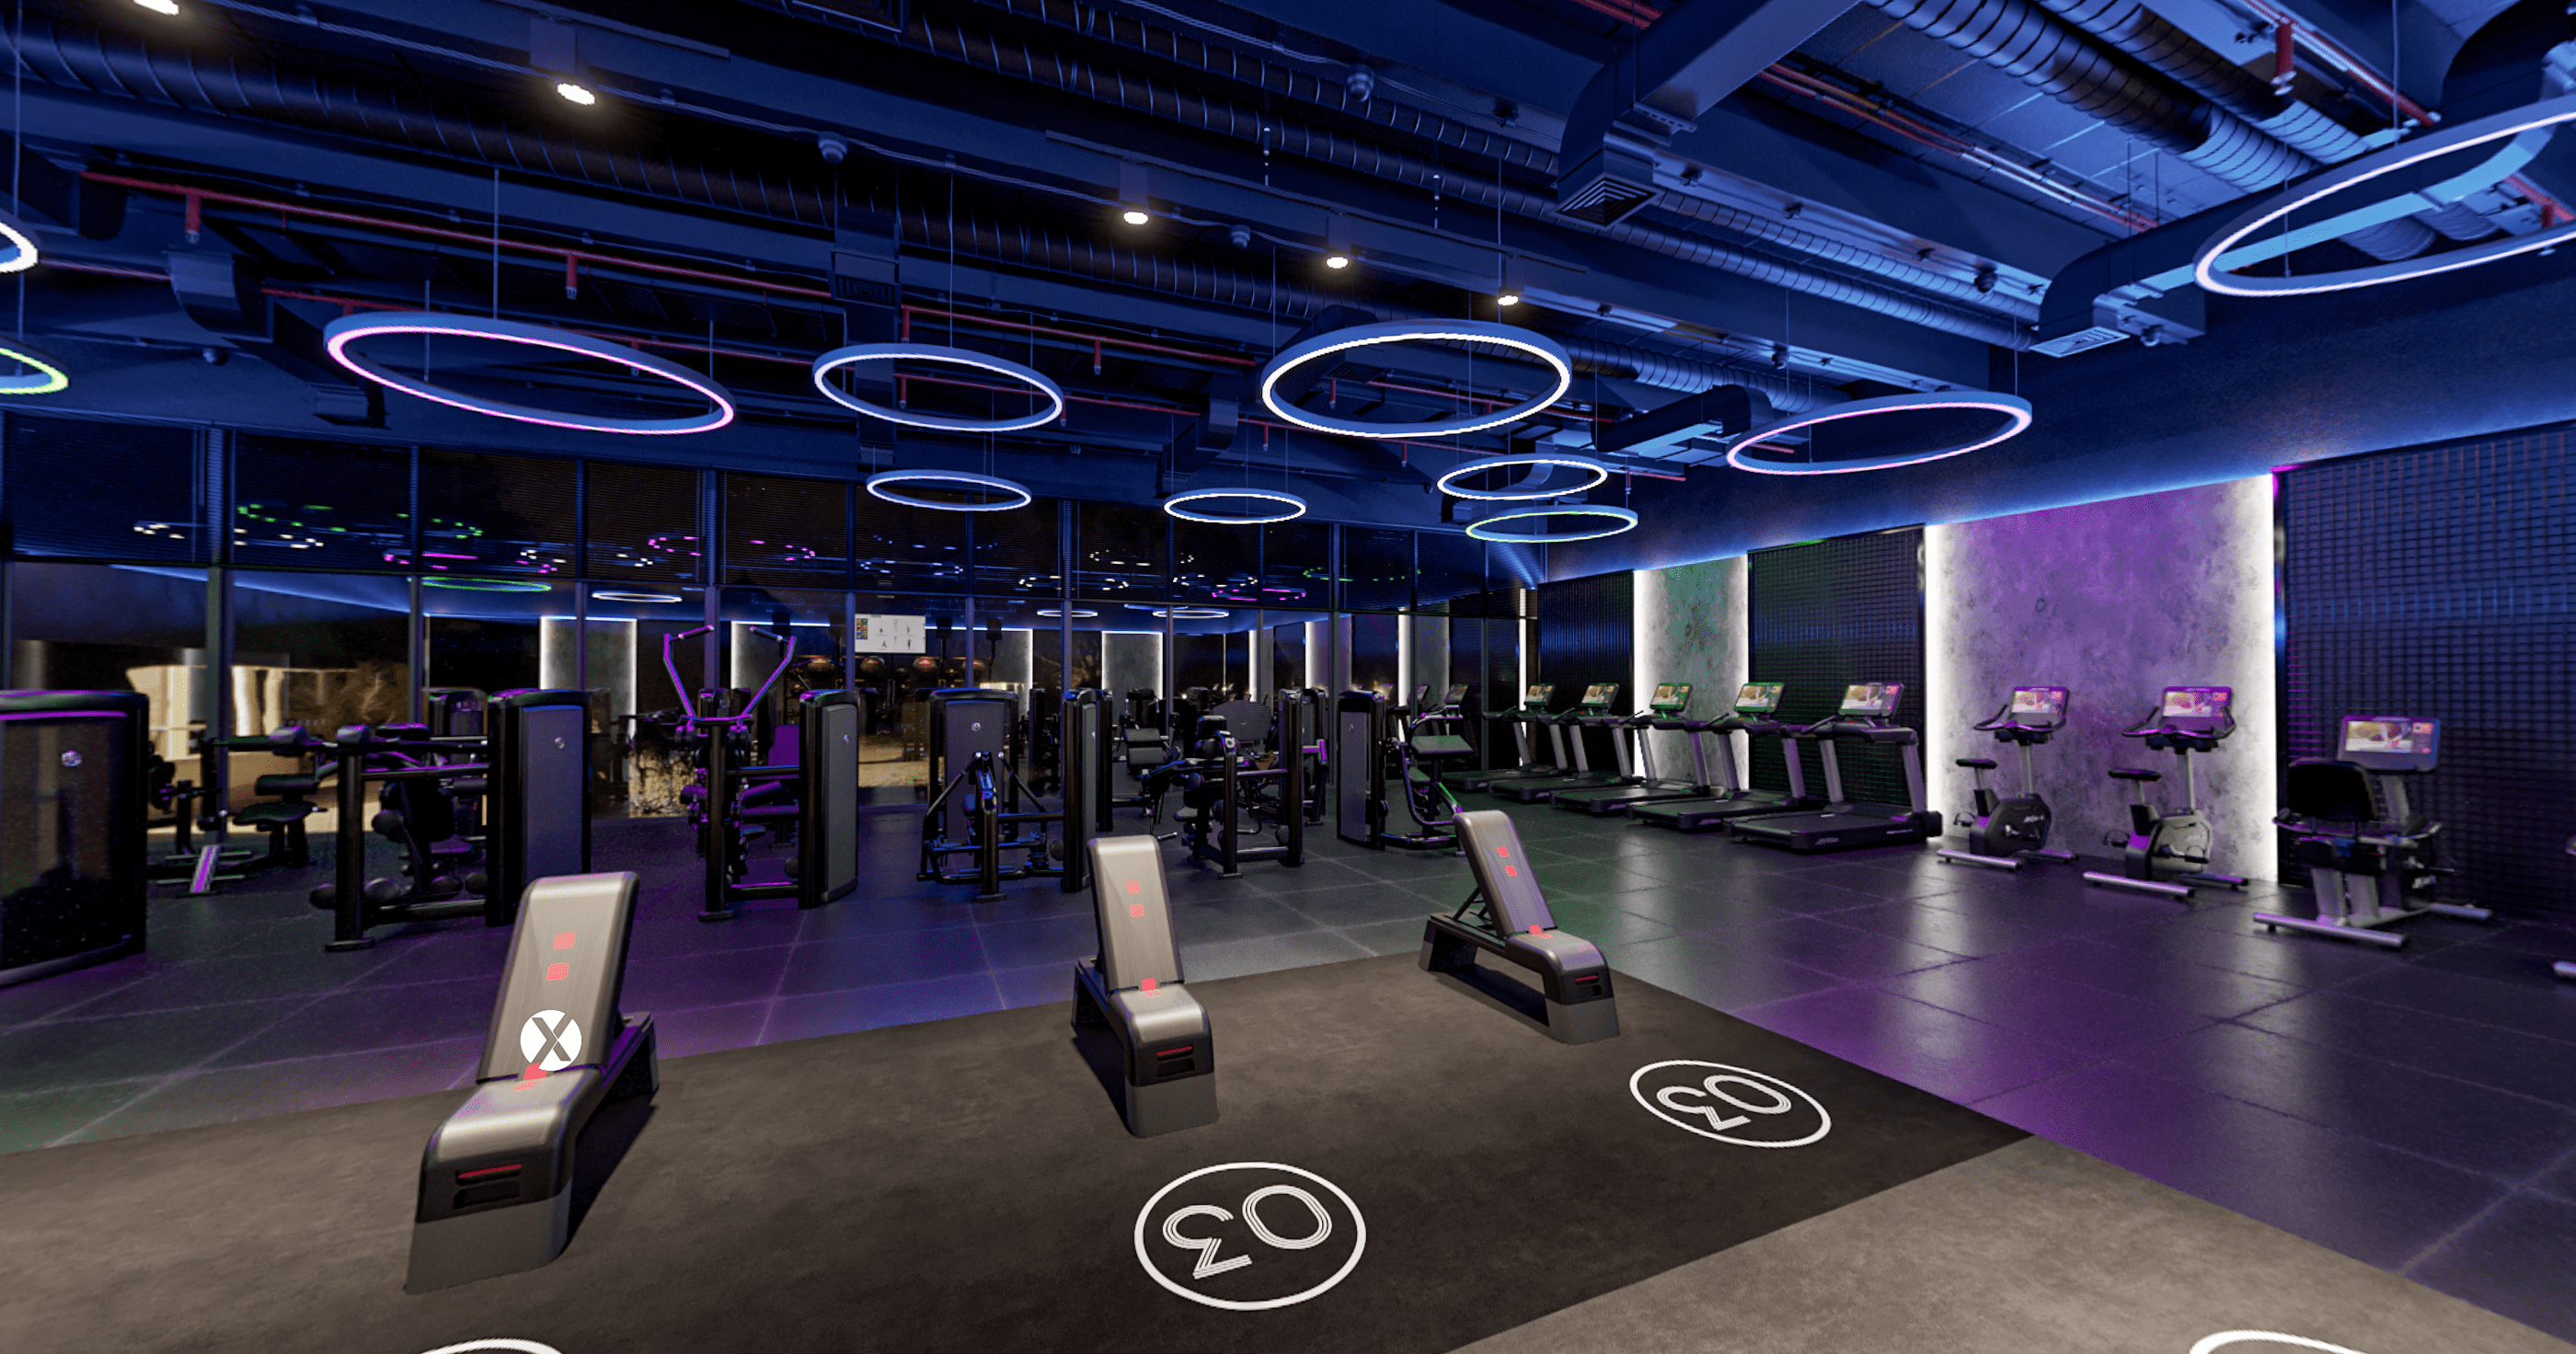
LFX provides elevated functional, HIIT and strength experiences, and fills your space with energy to run small group, personal, or free individual training sessions.
Here are 5 great reasons to upgrade your functional training area with an LFX configuration:

Explore our seven pre-configured LFX packages
Access the LFX 360° experience to discover our functional training solutions just the way you want to! This is what expects you :
Find the configuration that’s right for your club and members.
You’re just one step away.
Click this link and fill out the form below, to get access immediate to the exclusive virtual tour.
https://www.lifefitness.com/en-eu/catalog/lfx/virtual-tour
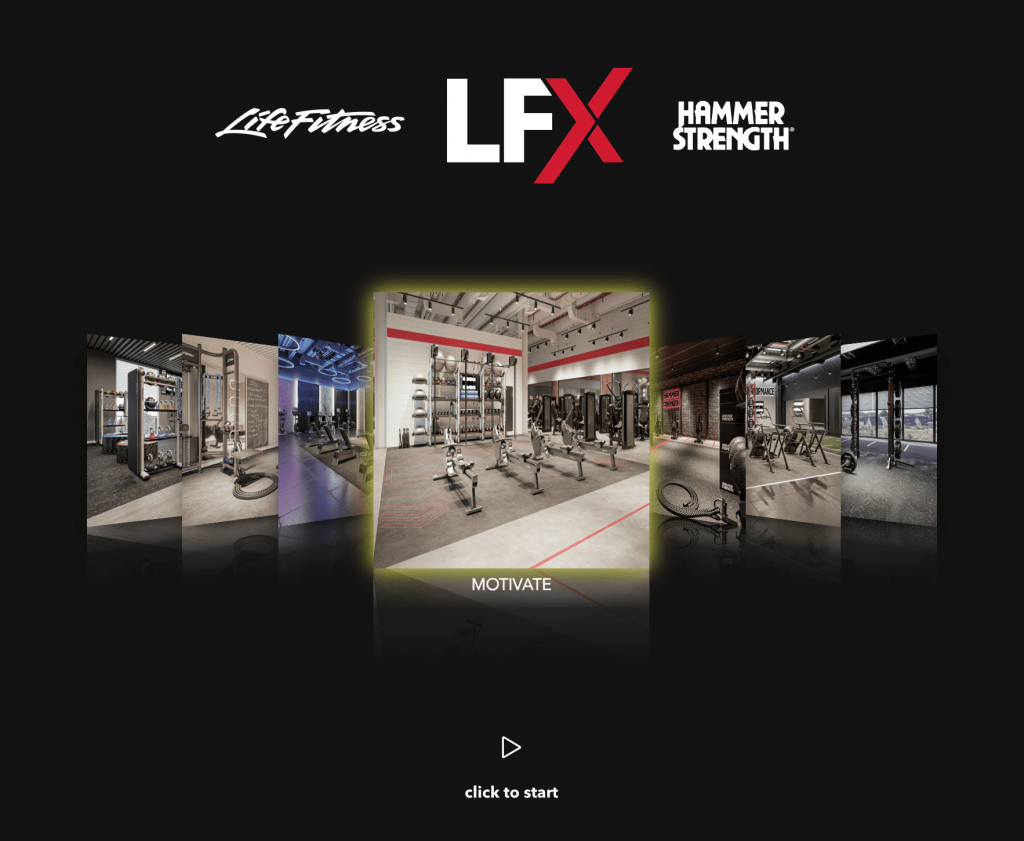
Start to explore Life Fitness pre-configured LFX packages.
Click below to take a virtual 360° tour.
Source:https://www.lifefitness.com/en-eu/catalog/lfx/virtual-tour
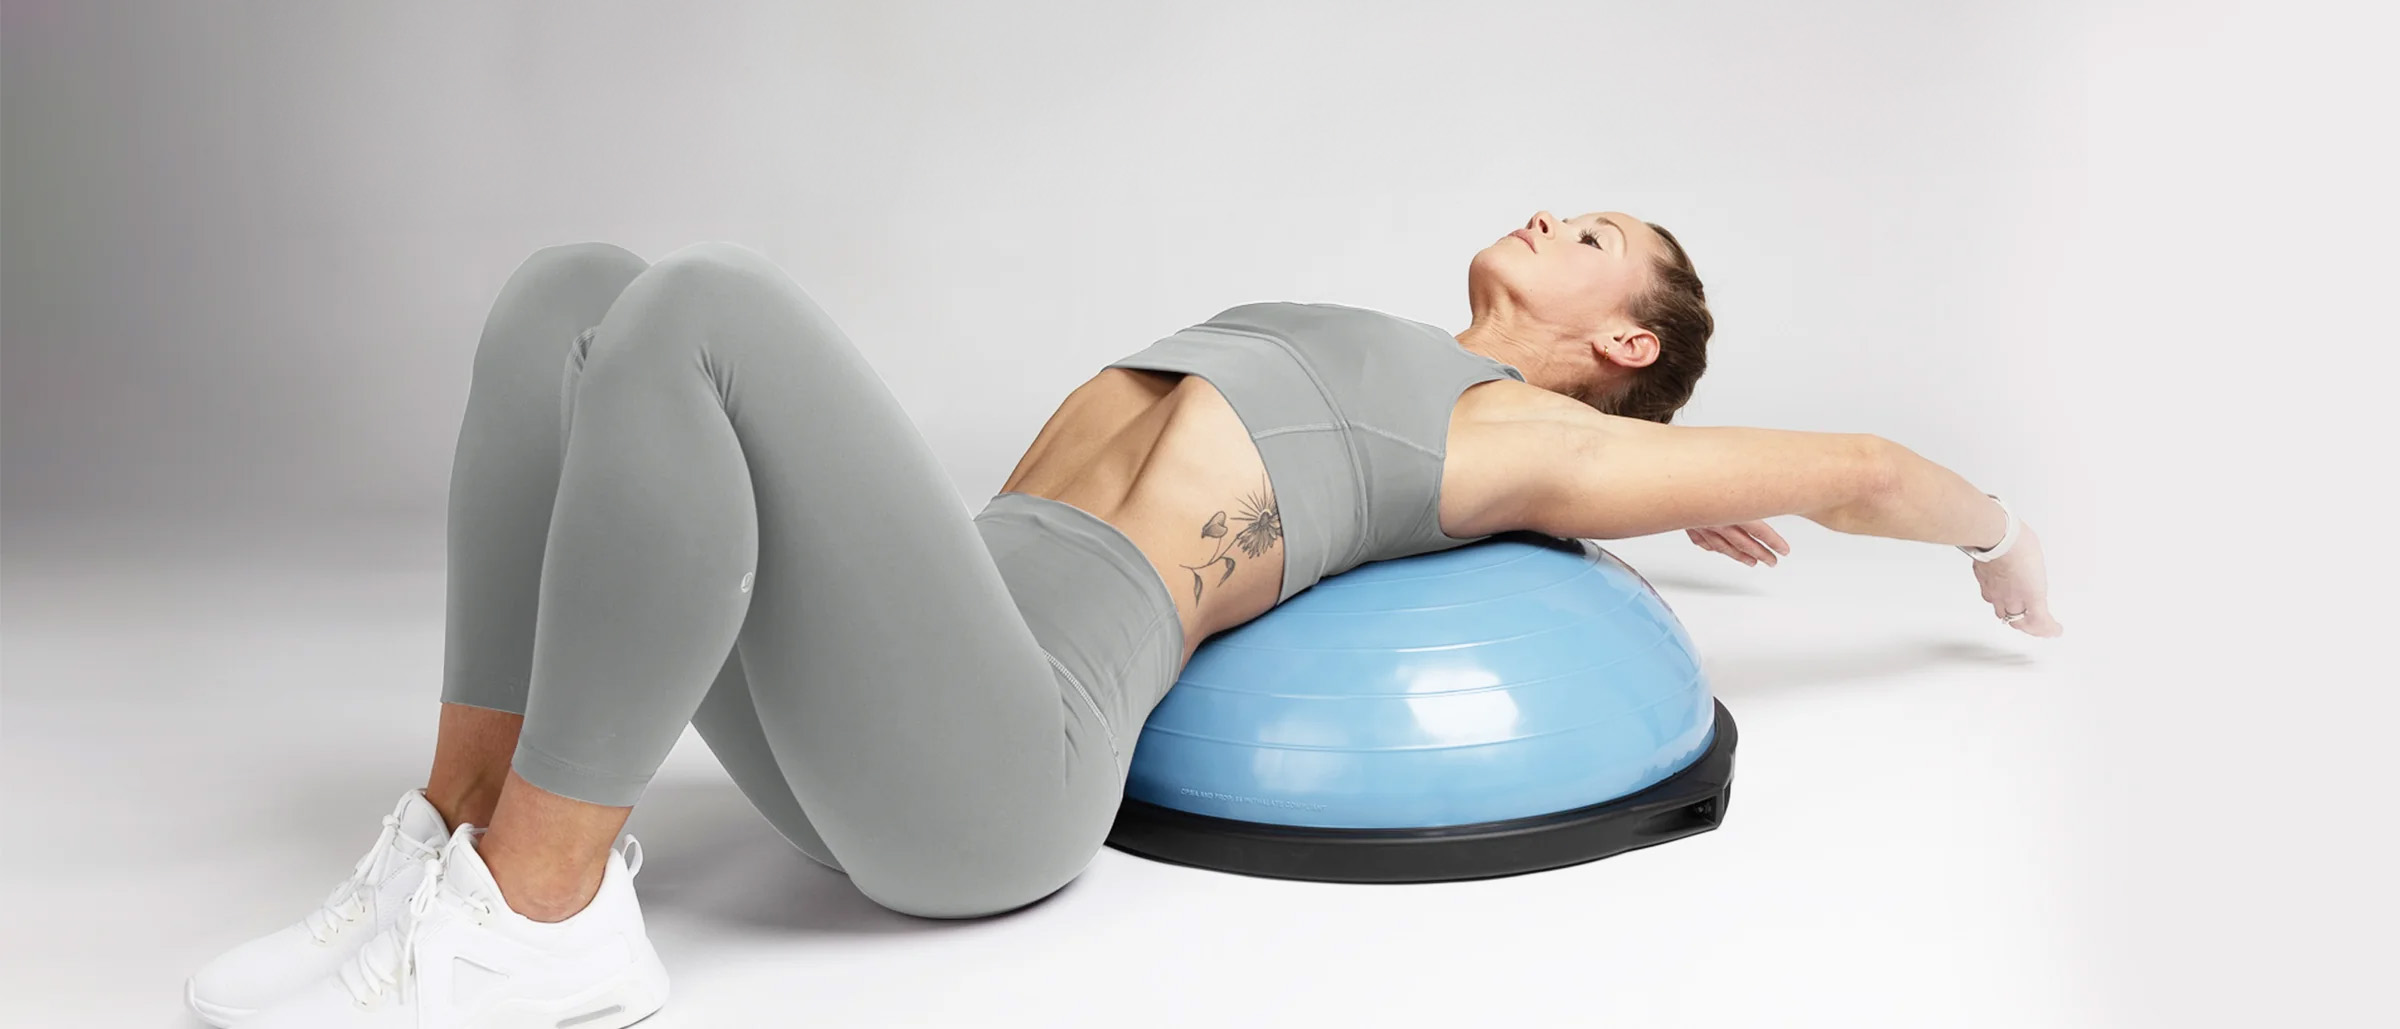
Did you know we do sell the different styles of BOSU® Balance Trainers? How do you know your selection will be the right one for its intended use? We’ve broken down each here to help discover which will be the best fit for you:

The Home Balance Trainer is our classic and a perfect choice for the casual home user! With a 65cm diameter, its original style dome & platform surfaces will enhance any basic workout or training style with an element of instability to help improve health & life activities!
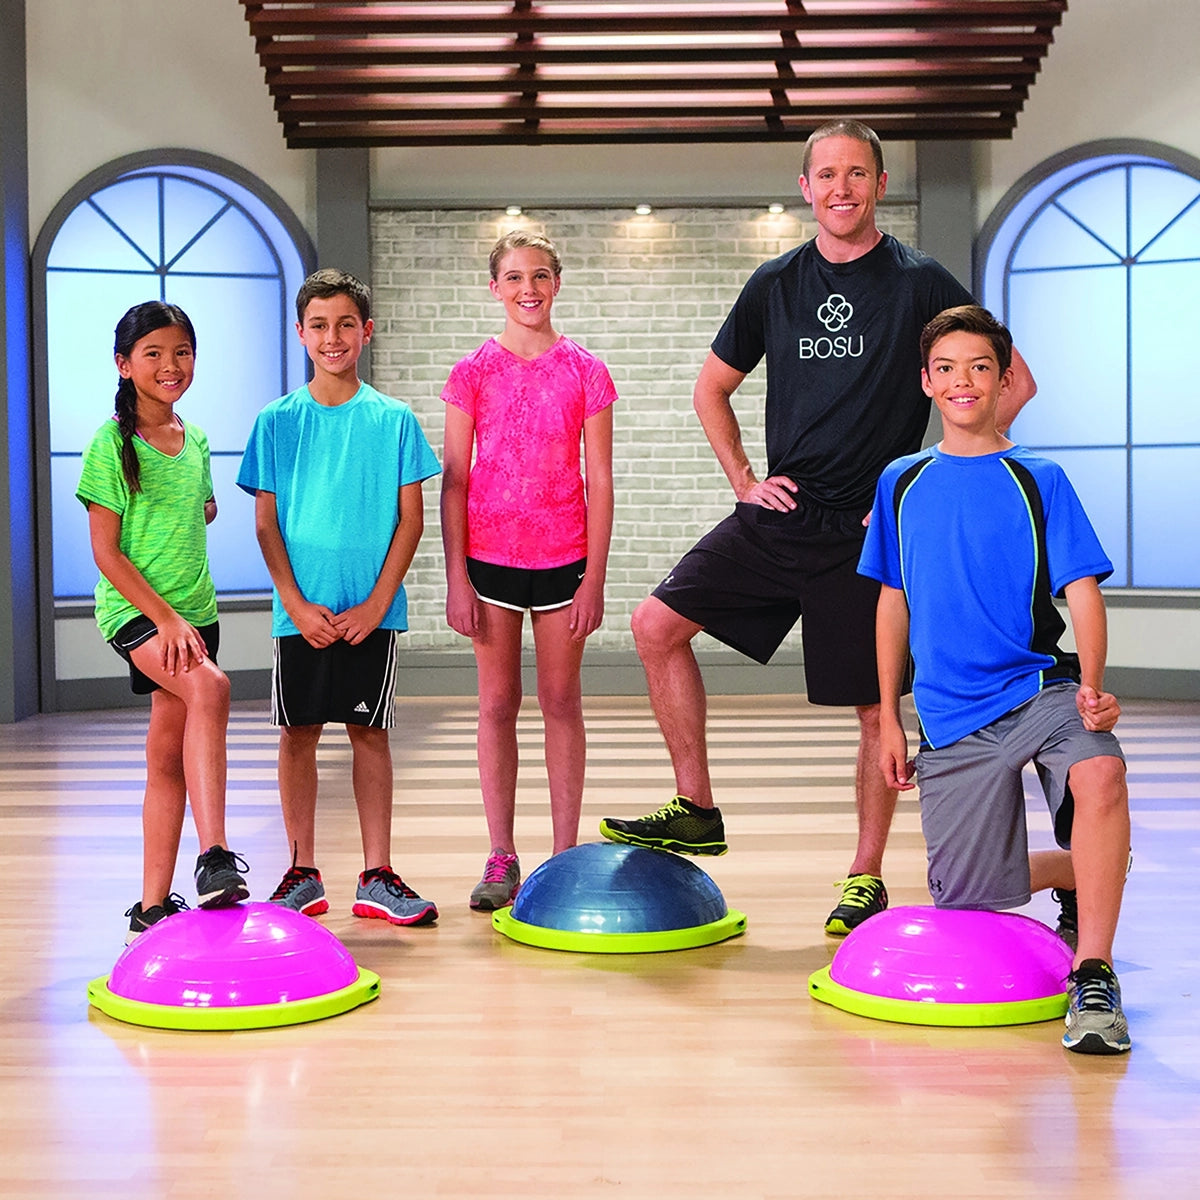
The smaller surface area and circumference (only 50cm) make the Sport unit more appealing to children, Trainers & Coaches who travel for clients, and users in smaller spaces. Although modest in size, it’s still mighty when it comes time to work out! Insider Info: Same dome, platform & feet as the two units mentioned above so recommended for home use only.
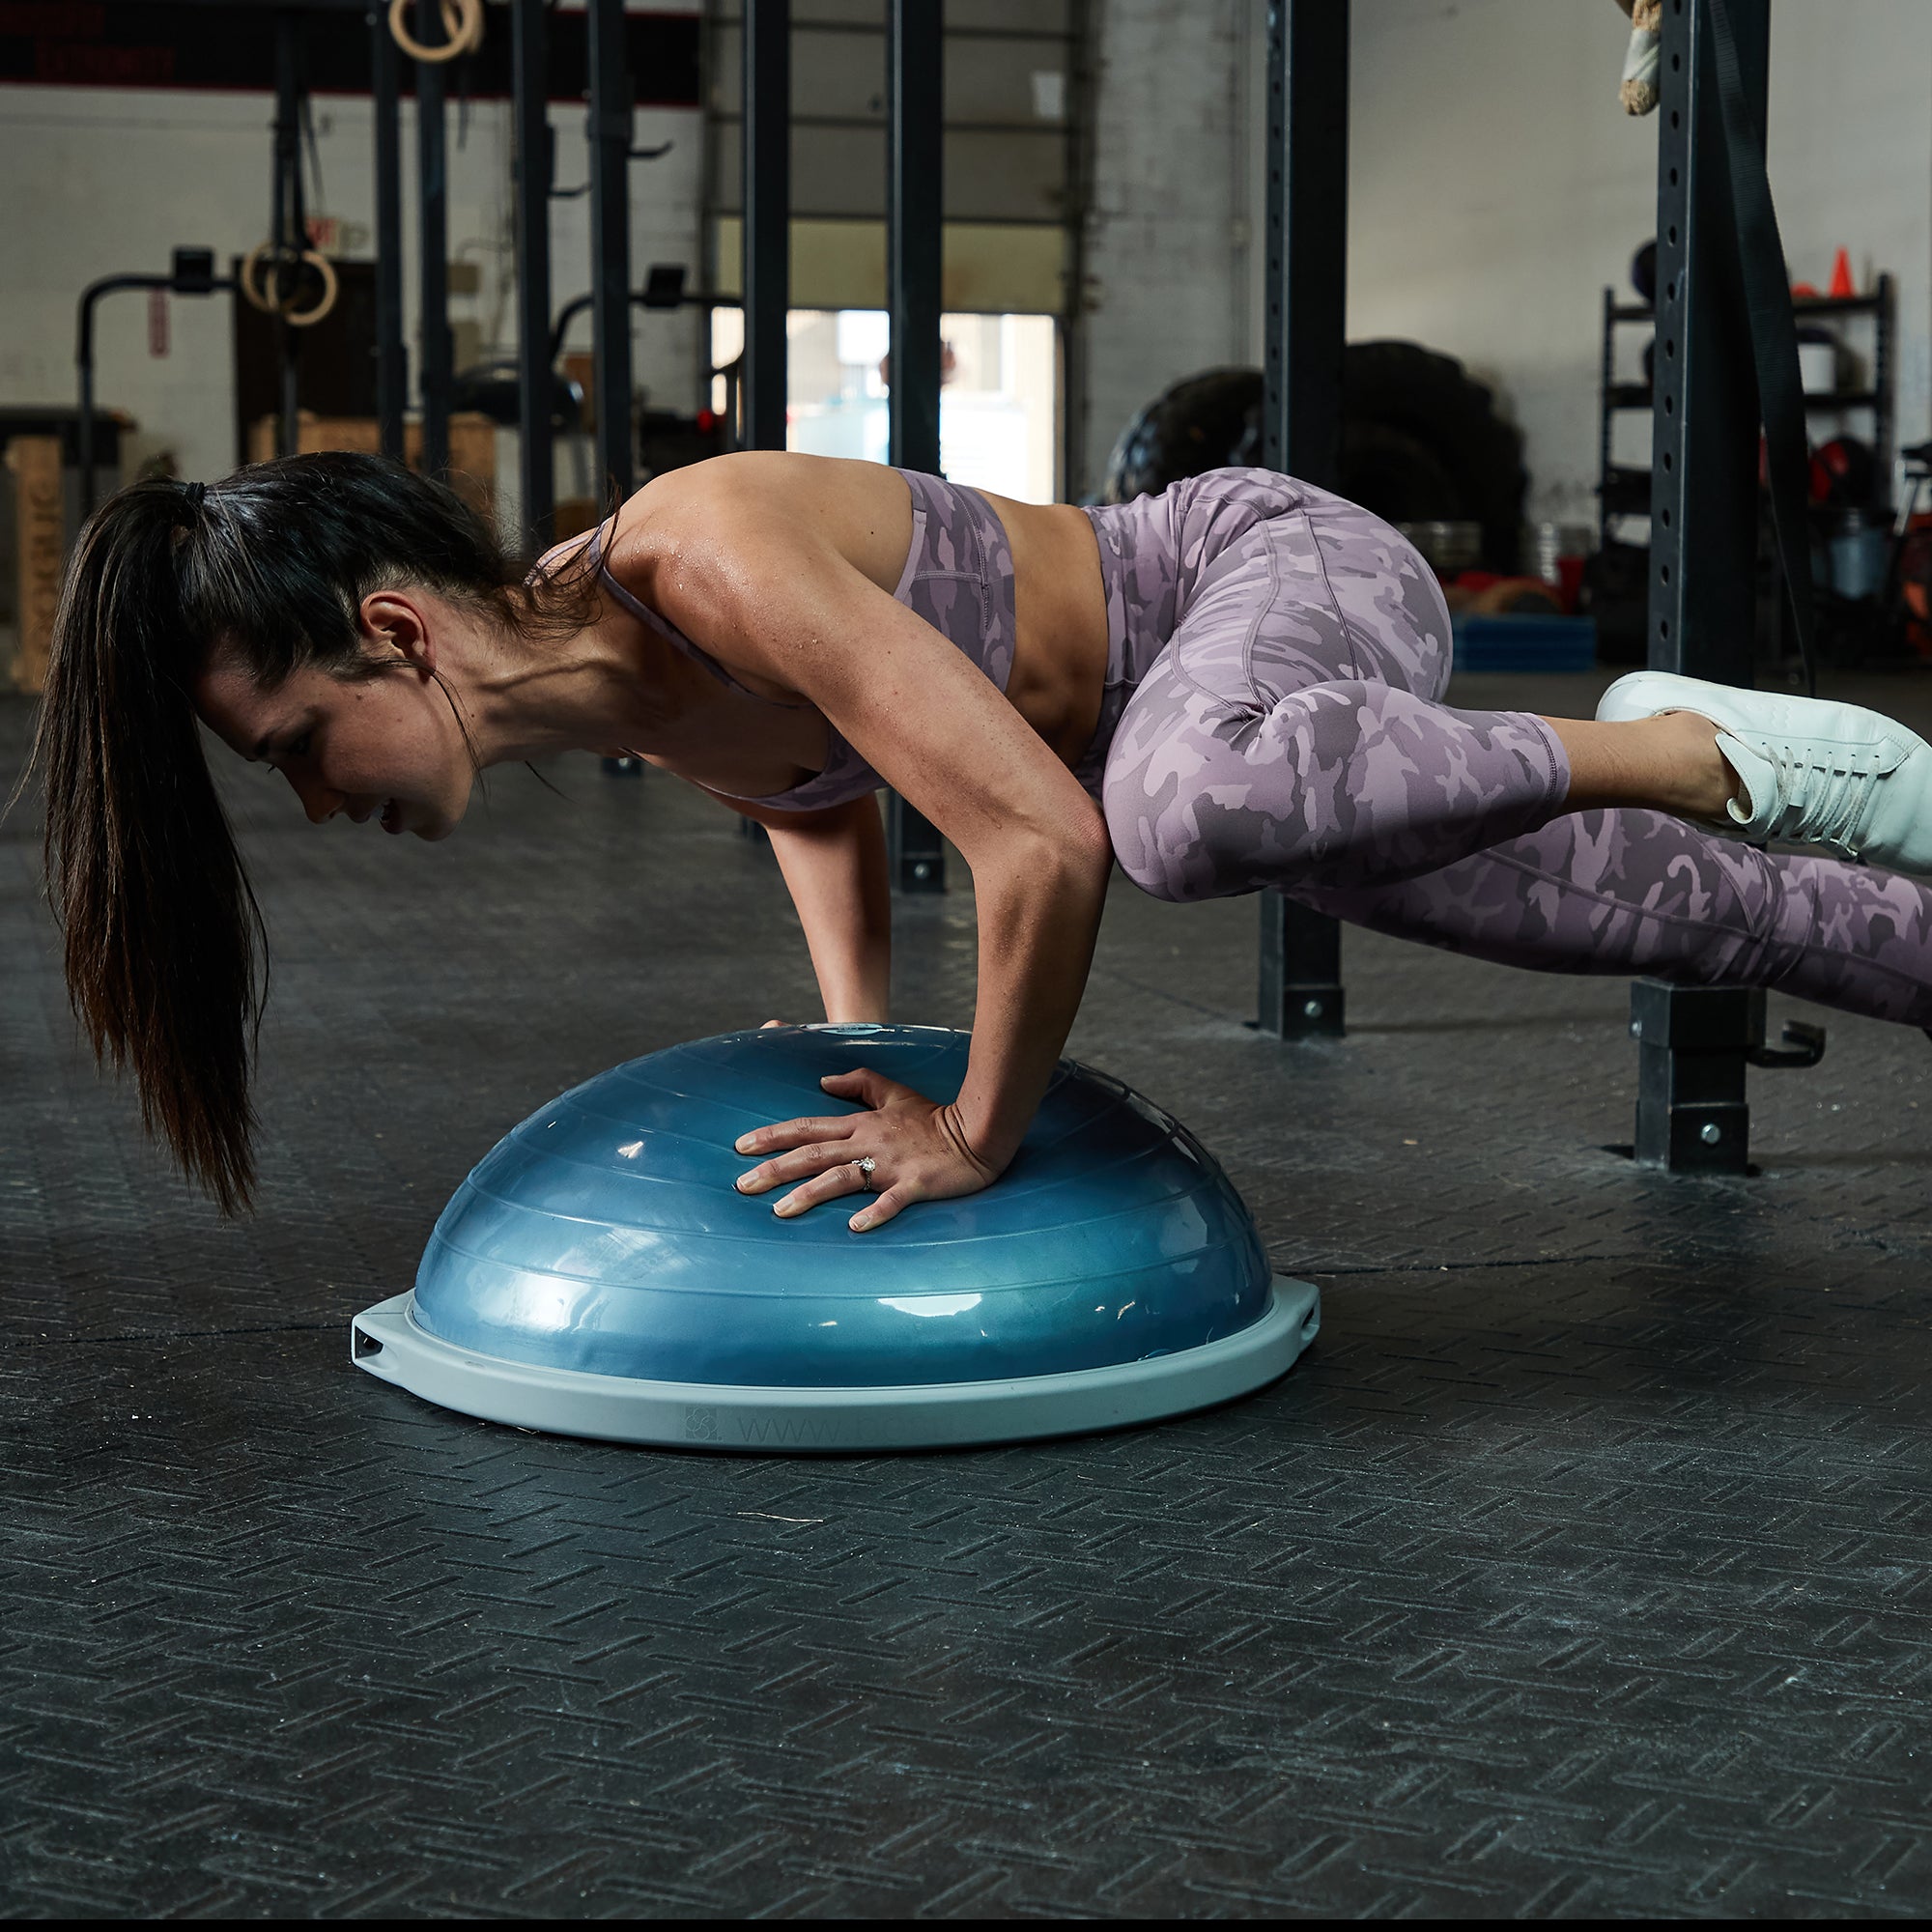
Our most recognized product, the ‘original’ Pro Balance Trainer boasts a patented double-molded base (for extra strength) and a smooth, non-skid platform surface (so nothing gets in your way) making it the ultimate choice for professional and commercial-grade use! Our Pro unit was made to withstand the toughest workout format while still promoting all the function and feedback needed for effective stability training. Insider Info: You don’t need to be a fitness pro to use our Pro Balance Trainer, however it’s the only model recommended for clubs, clinics, training centers or any situation expecting high volume use.
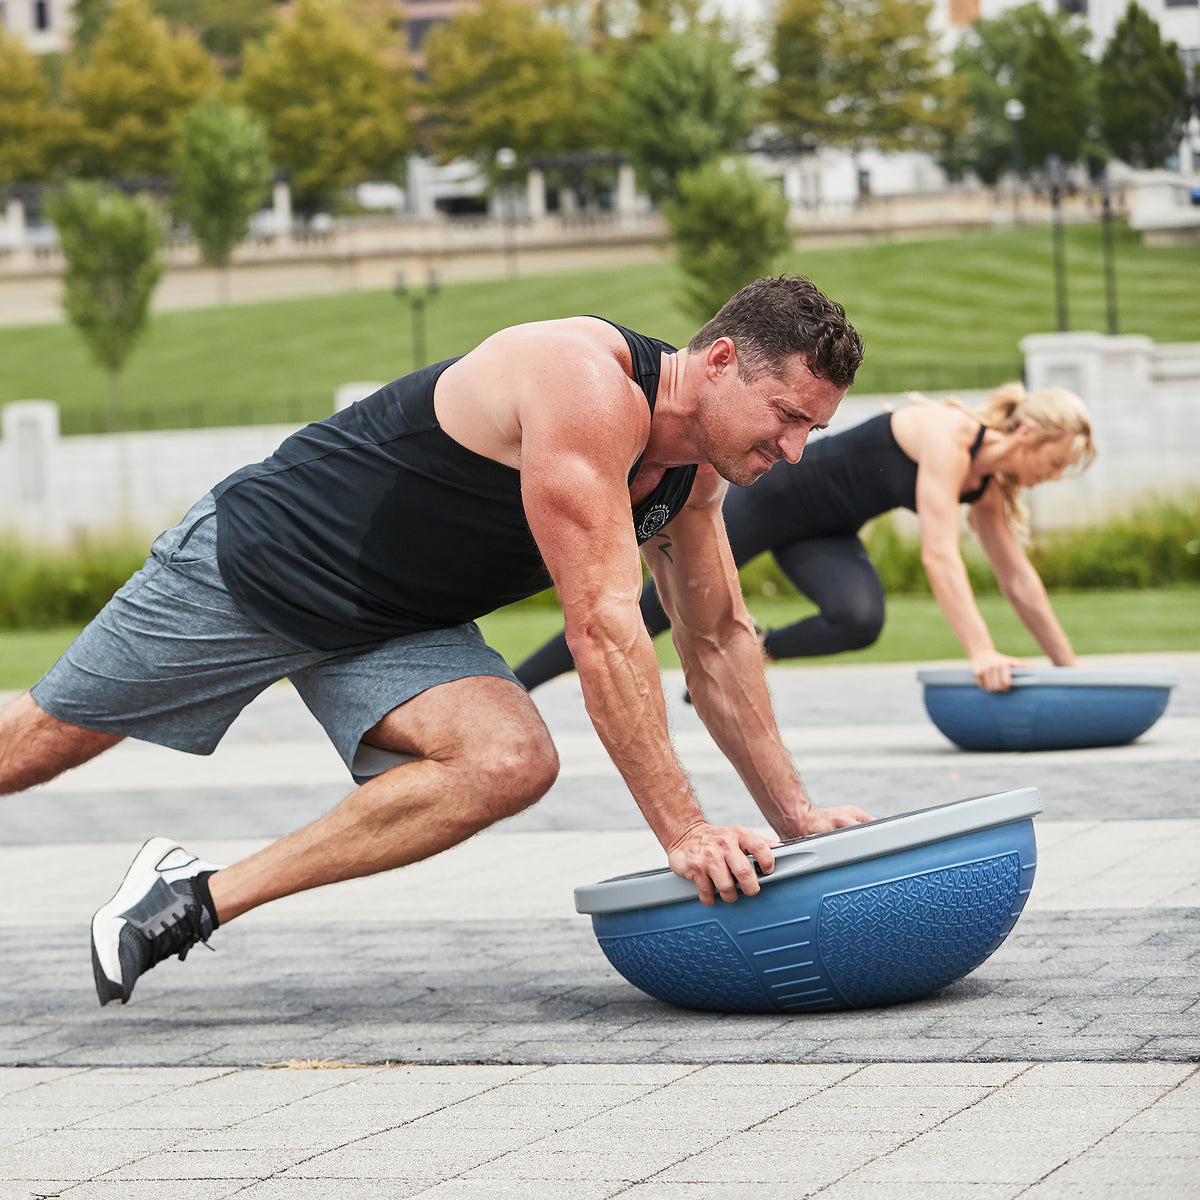
The latest generation of our Pro unit also offers the unique texture benefits of the NexGen™ dome while maintaining the high-quality features needed for commercial & professional use!
Bottom line, any BOSU® Balance Trainer is a fantastic choice and each will take your HIIT, core, strength, mobility or total-body workout to the next level! Happy picking!
Source: https://bosu.com/blogs/news/which-balance-trainer-is-right-for-you
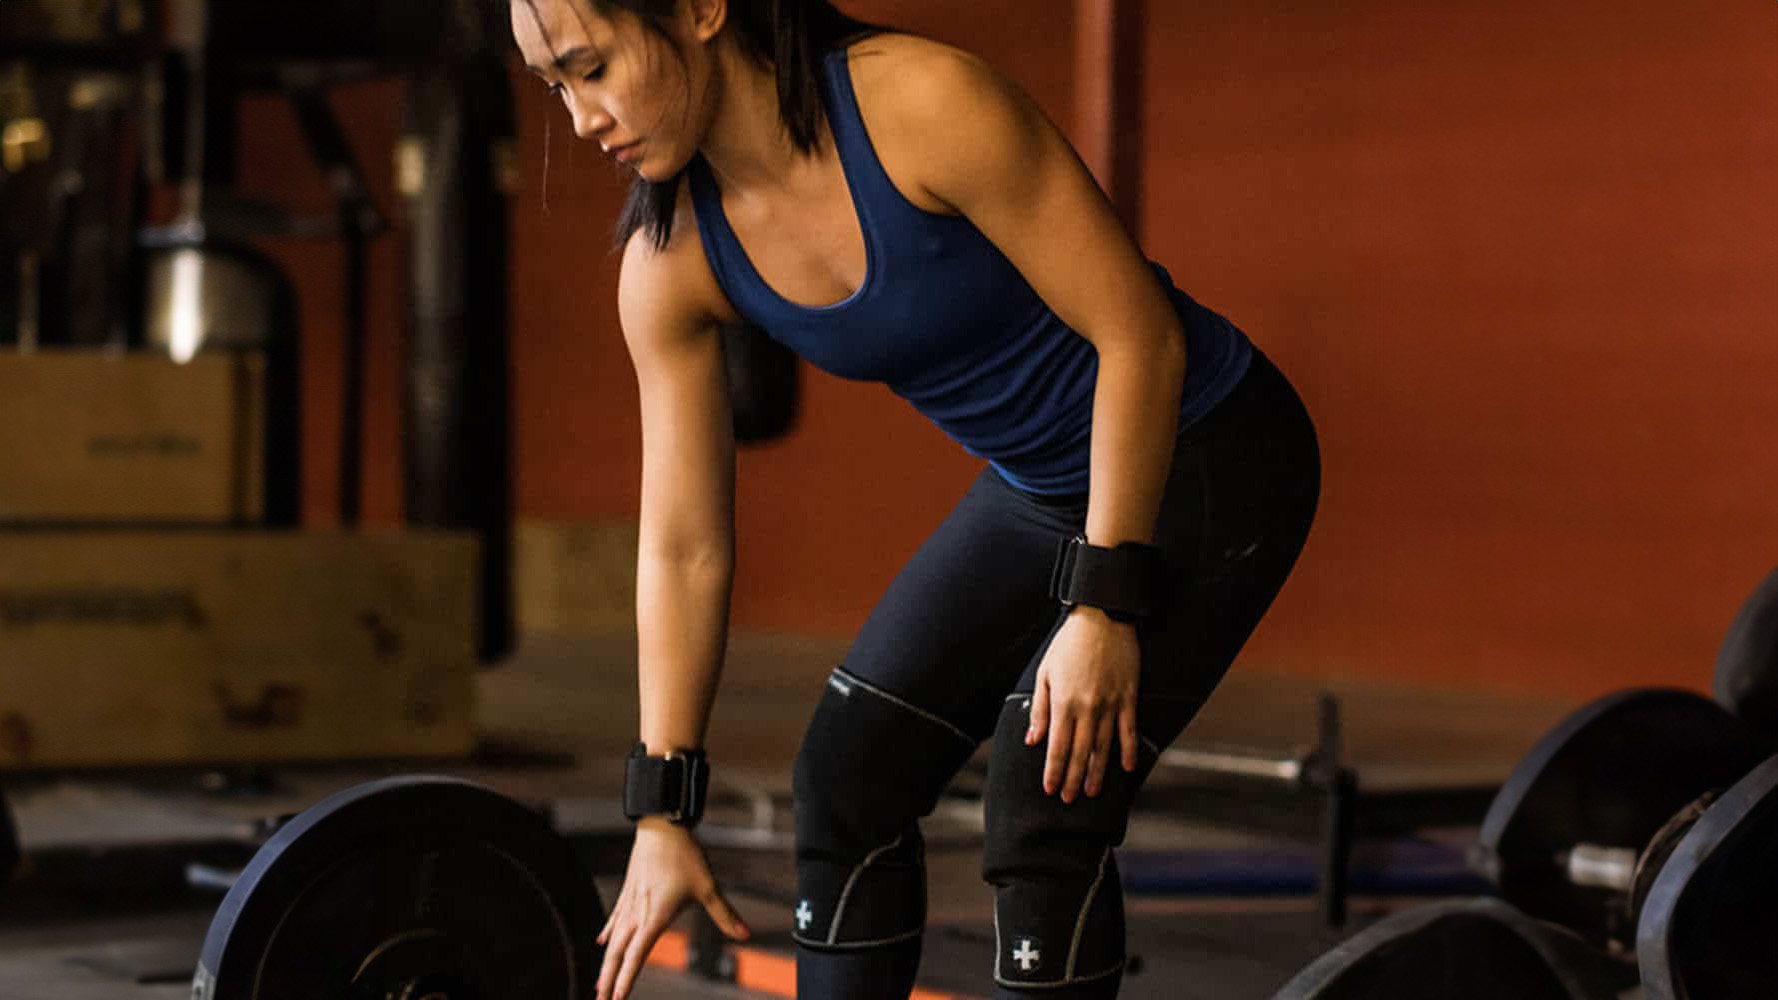
Weightlifting is a fantastic way to build strength, improve muscle tone, and boost overall fitness. However, like any physical activity, it comes with its risks. Injuries are not uncommon in the world of weightlifting, but the good news is that many of them can be prevented with the right approach and gear. Let’s explore some common weightlifting injuries and ways to avoid them. It all starts with using proper techniques and the right equipment!

Understanding Common Weightlifting Injuries:

Prevention Strategies:
Now that we know what we’re up against, let’s discuss some strategies for preventing these injuries:

By following these injury prevention strategies and using the right gear, you can minimize your risk of common weightlifting injuries and enjoy a safer, more effective workout experience. Remember, consistency and proper technique are key to long-term progress and injury-free training. So, lace up your lifting shoes, strap on your gear, and lift smart. Your body will thank you for it.
Source: https://harbinger.co.nz/2024/05/08/avoiding-common-weightlifting-injuries/
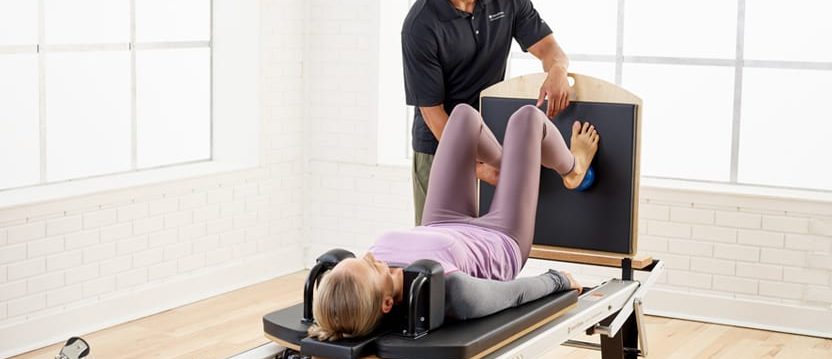
Pilates is renowned for its ability to enhance flexibility, strength and overall body awareness. The versatility of equipment can significantly amplify these benefits, making your workouts more dynamic and effective. This month, we’re highlighting some essential Pilates gear, including Cadillacs, Stability Chairs™ and Ladder Barrels. Discover how these tools can transform your practice and help you achieve your fitness goals.
To help you maximize the use of these tools, we’re shining the spotlight on Exercise of the Month series, highlighting various ways to incorporate our products into your routine and tailor them for diverse clients. Here are some featured exercises to inspire your workouts:
Workout on the Cadillac
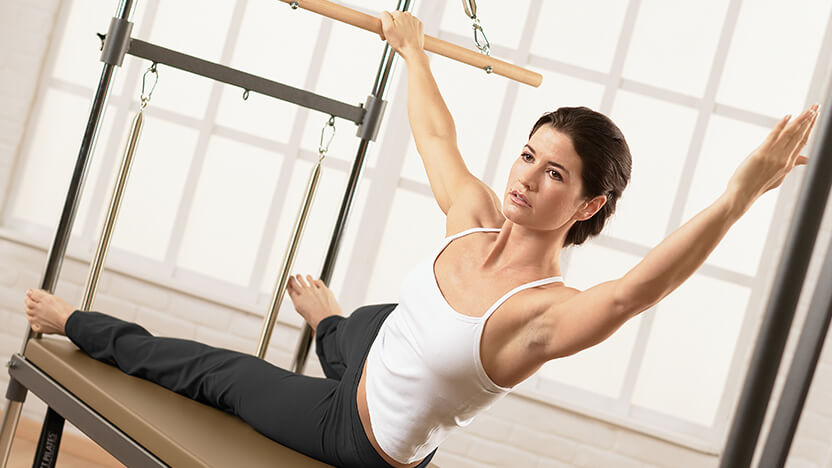
Discover the versatility of the Cadillac/Trapeze Table with the Thigh Stretch exercise, guided by Merrithew Lead Instructor Trainer Michaela Bimbi-Dresp. This exercise allows for various modifications to cater to diverse client needs. Try out this exercise and see how it can elevate your practice.
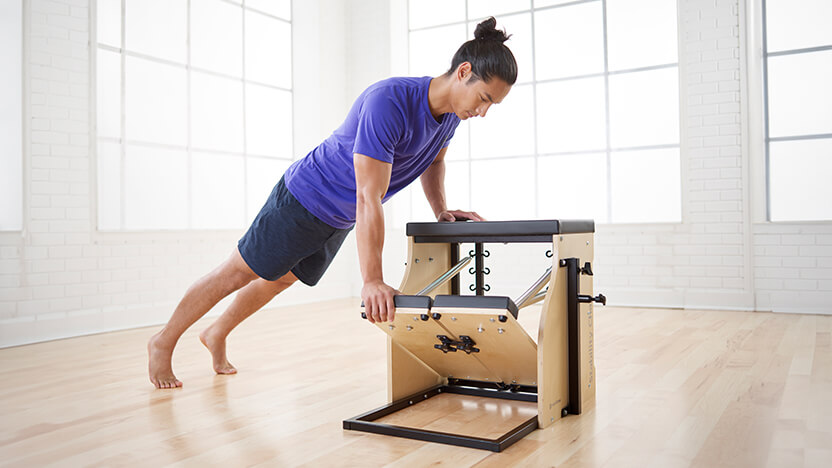
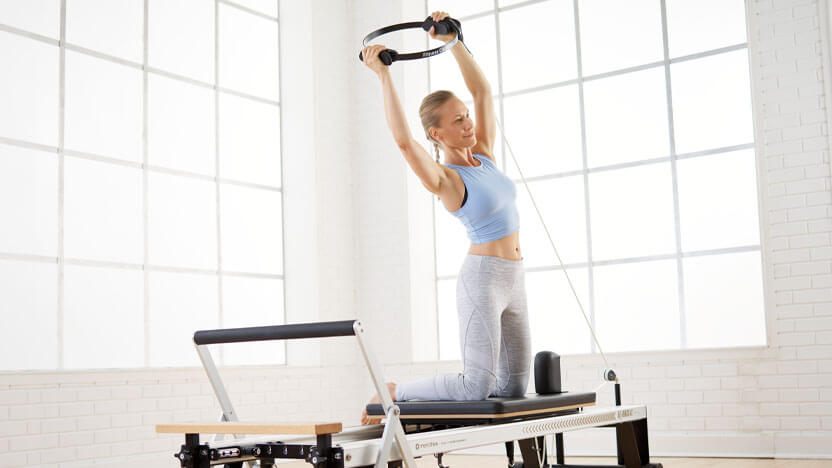
Workout on the Stability Chair
Unlock the full potential of the Split-Pedal Stability Chair with the Footwork Flow exercise demonstrated by Master Instructor Trainer Laureen DuBeau. Move beyond simple exercises and make your Stability Chair programming more dynamic and invigorating. Give this exercise a go and feel the difference in your workouts.
Workout on the Ladder Barrel
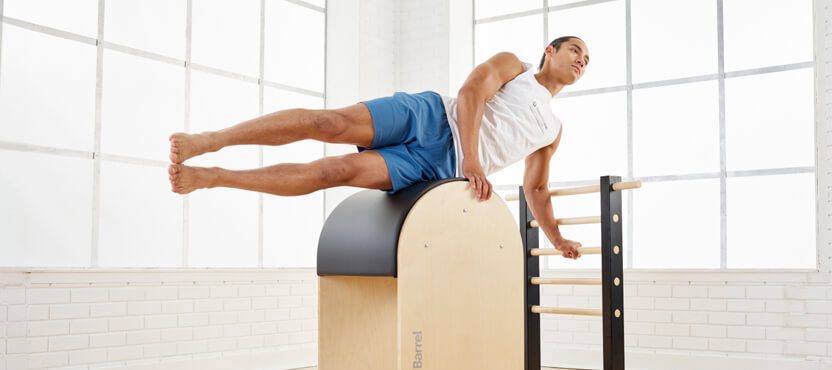
Challenge your core strength, stability, flexibility and mobility with the Swan Dive exercise on the Ladder Barrel, showcased by Laureen DuBeau. This exercise focuses on the posterior chain, strengthening the back extensors and gluteus maximus. Try this exercise and experience the versatility of the Ladder Barrel.
Explore the benefits of incorporating the Cadillac, Chair and Barrel into your practice and add dynamic exercises to your routine. Whether you’re looking to enhance your home studio or upgrade your professional setup, this equipment provides the perfect opportunity to invest in your fitness journey. Start your journey today and unlock the full potential of your Pilates practice!
Source: https://www.merrithew.com/blog/post/2024-06-11/transform-your-pilates-practice-top-cadillac-chair-barrel-exercises
Six months ago, we explored the inspiring stories of two talented ballet dancers from The National Ballet of Canada, Genevieve Penn Nabity and Matthieu Pagès, who embraced Pilates as a vital component of their performance enhancement and recovery journey. You can catch up on their stories here. Today, we revisit their journeys to see how they’ve navigated the challenges and triumphs that have come their way in the past several months.

Genevieve Penn Nabity in Don Quixote. Photo by Karolina Kuras
Earlier this year, Genevieve faced a setback when she fractured her distal talus, a small bone in the ankle, during a ballet training class. This injury forced her to temporarily shift her focus from ballet to strengthening her upper body, particularly her back muscles. Despite this hurdle, Genevieve’s resilience shines through. Her new fitness goals center on enhancing the proprioceptive muscles around her ankle and calf to regain her pre-injury form so that she can continue to approach dance fearlessly.
Genevieve has since returned to performing and the integration of Pilates into her routine has profoundly impacted her ballet training. Mind-body exercises have been instrumental in helping her stay focused and connected with her muscles during performances, even under the stress of stage nerves.
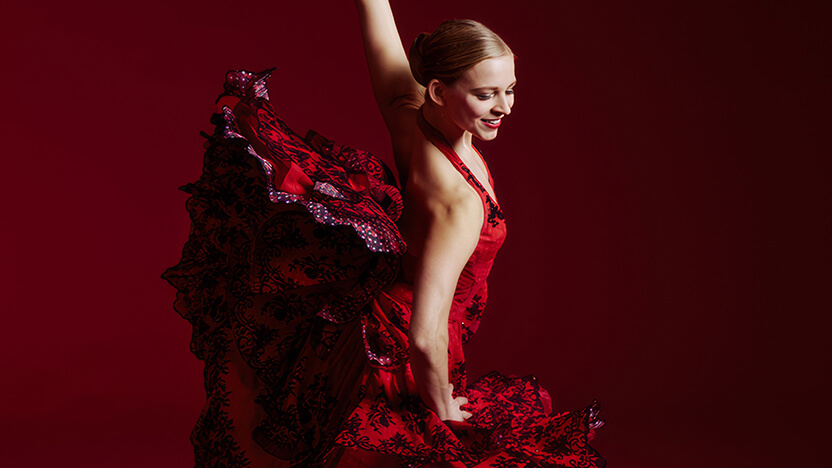
1) Can you describe any recent achievements in your ballet career that you attribute to your enhanced training?
I was recently cast in the lead role of Kitri for the National Ballet’s upcoming production on Don Quixote. This role is full of explosive jumps and the training I did pre-injury helped me show that I have the skills needed to perform the role well. Also, back in December 2023, I was called upon to fill in for a fellow colleague in the role of the Sugar Plum Fairy in The Nutcracker thus my shows doubled. Due to my training, my body was able to support itself through the extra shows.
2) How has your approach to training and preparation for performances changed since integrating Pilates into your routine?
I am much more mindful of my mental state and staying present in the moments before, during and after a show. I also have more control over my body when things don’t go as planned, thanks to the practice I do in Pilates classes.
3) Have you incorporated any new Pilates exercises into your routine?
While in the boot for six weeks after my injury, Reformer work was key as it allowed me to continue training my core and arms without putting any weight on my injury. Some of my favorite exercises are “Teaser Teardrops” and “Frog”. “Tree” was also helpful, as it gave me a chance to mobilize my spine and stretch my legs!

Matthieu Pagès in UTOPIVERSE. Photo by Jason George and William Yong
Matthieu brings us uplifting news: his big toe’s ligaments, which he partially tore after landing poorly following a big jump, have completely healed. Since our last update, he has fully returned to performing ballet, though with heightened awareness and caution to prevent re-injury. This cautious approach has transformed into a strength, enabling him to dance with increased confidence and precision.
Throughout his recovery journey, Matthieu continued to focus on exercises that enhance stability in his injured foot and improved his routine with additional core and upper leg strengthening exercises.
Matthieu’s aspirations in ballet are as vibrant as ever. He is diligently working to strengthen his body and technique, aiming for more opportunities to perform onstage.
1) Can you describe any new or continuing challenges you have faced during your recovery?
Since our last conversation, the main challenge has been regaining stability in my injured foot, particularly in the big toe. The big toe is crucial for balance and dance performance, so it’s vital to keep stretching and strengthening it before moving on to more advanced techniques or choreographies.
2) What advice have you found helpful during your recovery that you could share with others?
Give your body the time it needs to recover and always keep a positive mindset while you’re recuperating. Staying optimistic will impact the speed of your recovery.
3) How do you believe Pilates and mind-body exercise have impacted your recovery process and ballet career?
It has played a significant role by giving me the opportunity to strengthen my body and deeper muscles, and maintain maximum flexibility, all without the repetitive strain of lifting weights.

Pilates: A common thread in their journeys
Both dancers underscore the significant role that Pilates has played, not only in their recovery but also in their overall career trajectories. For Genevieve, Pilates has helped enhance her control and presence during performances. Matthieu credits Pilates with providing a method to strengthen his deeper muscles and maintain peak flexibility, crucial for his ongoing recovery journey.
Looking forward
As Genevieve and Matthieu continue to evolve in their ballet careers, their stories remain a source of inspiration. Their journeys highlight the resilience required to overcome physical setbacks and the powerful role that mind-body practices like Pilates can play in achieving athletic greatness.
Moving forward, we will continue to cheer Genevieve and Matthieu on as they leap towards future successes.
Source: https://www.merrithew.com/blog/post/2024-06-12/where-are-they-now-how-two-ballet-dancers-transformed-their-performance-recovery-with-pilates?utm_source=Mailchimp&utm_campaign=aed3afffd4-NL_202406_Part_2&utm_medium=email&utm_term=0_-814c5498ca-%5BLIST_EMAIL_ID%5D&ct=t(NL_202406_Part_2)&goal=0_0cd2a6749f-aed3afffd4-182743006&mc_cid=aed3afffd4&mc_eid=0c09e032cf

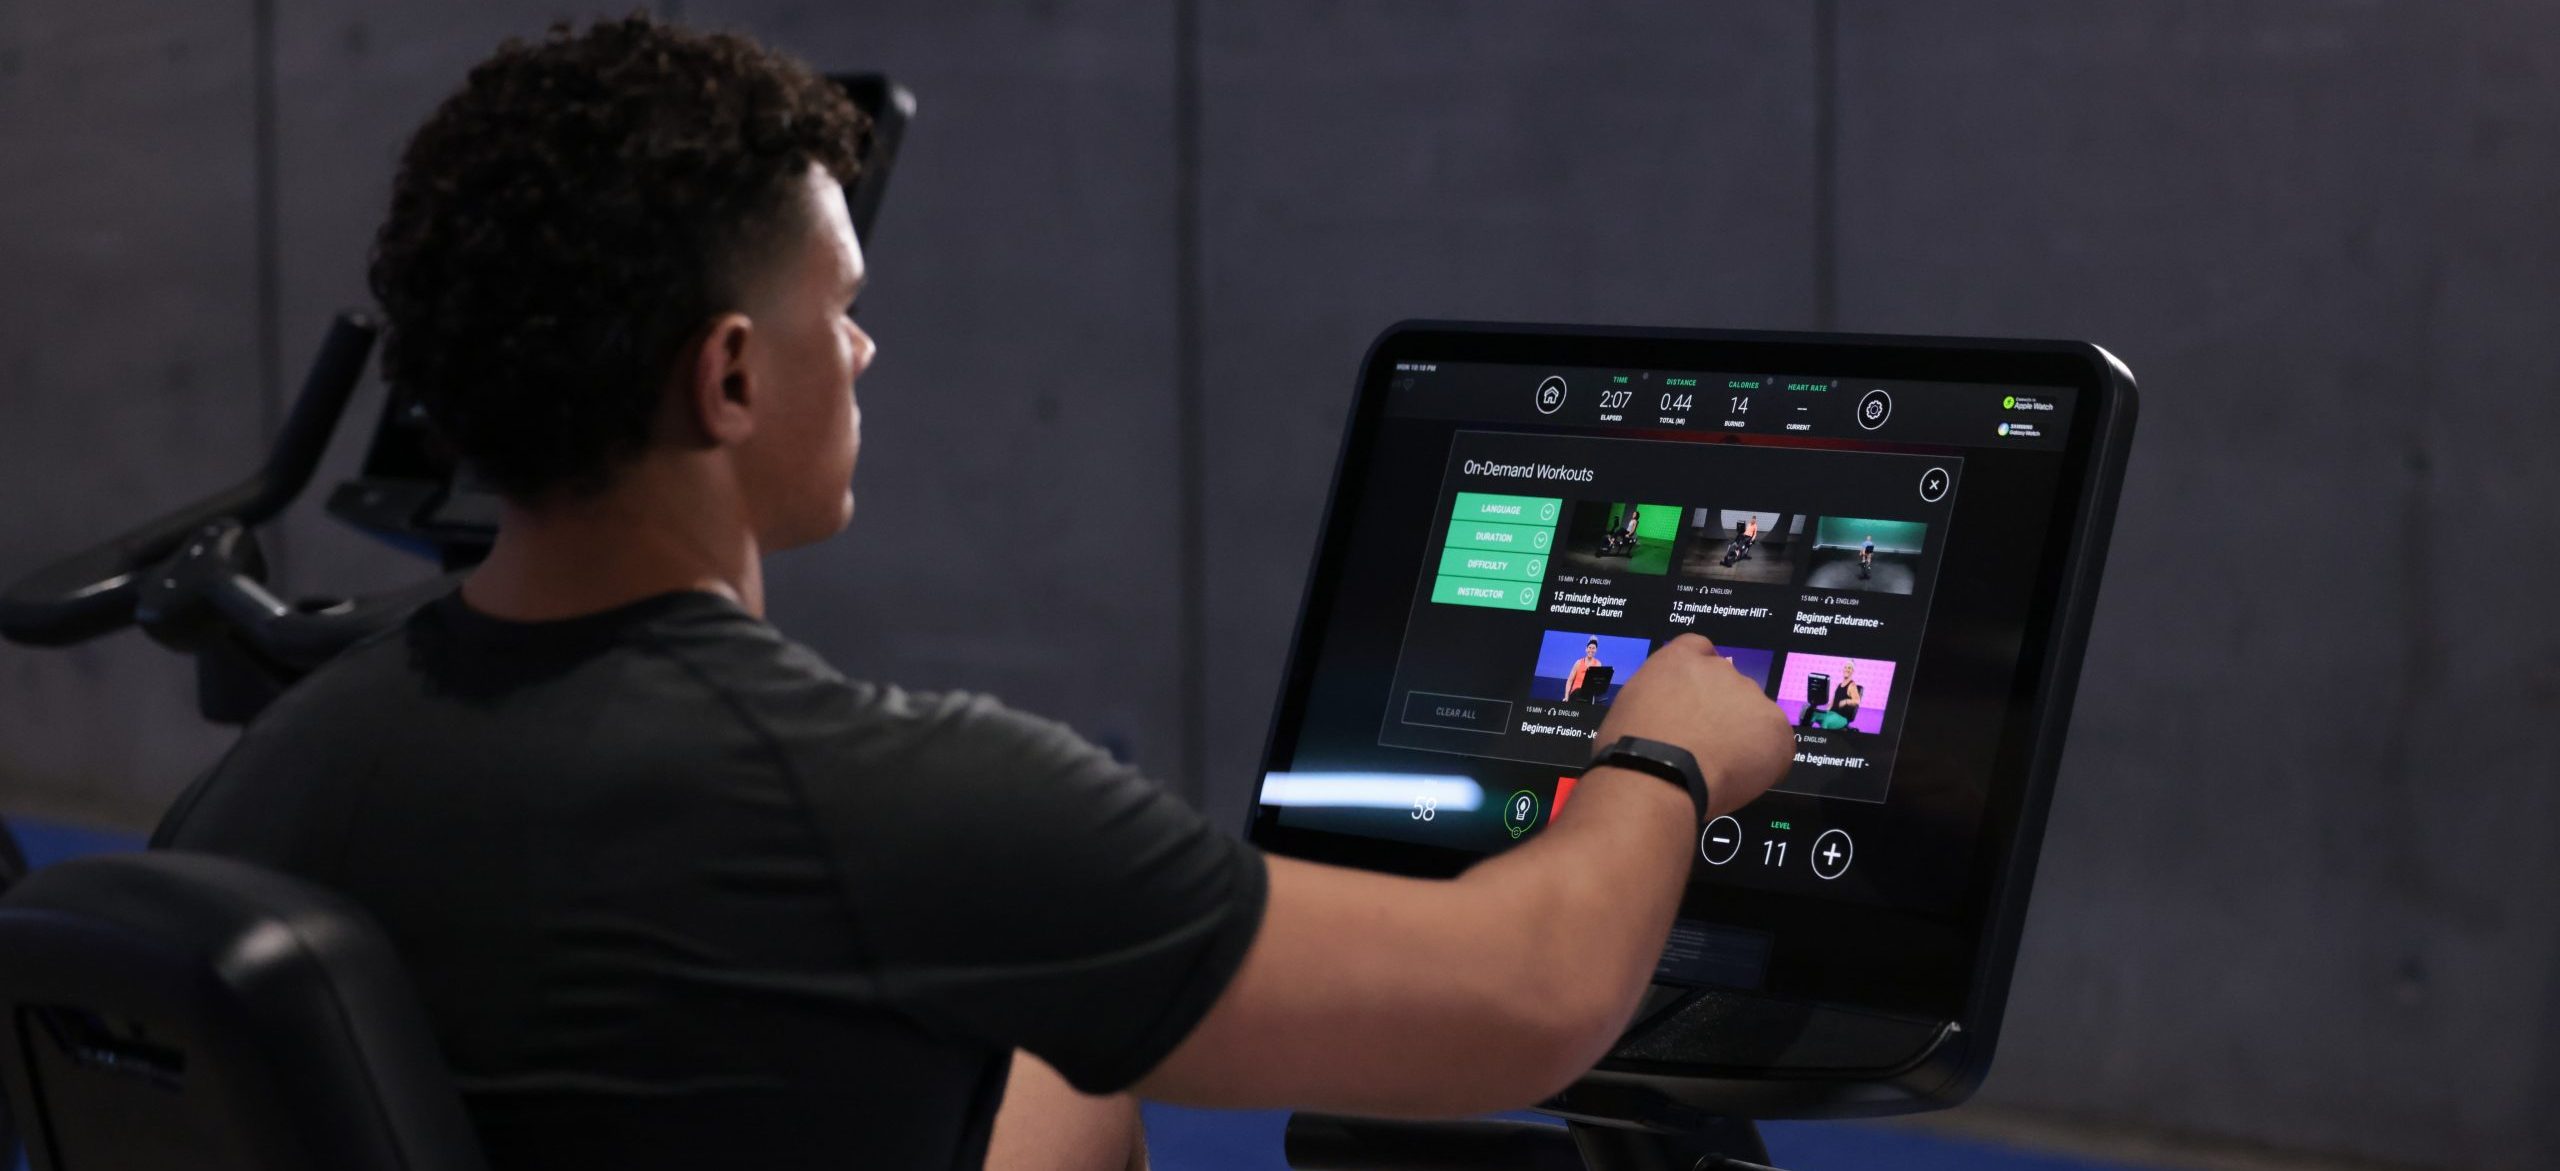
In a post-pandemic world, the average hotel and gym guest profile has changed. People want a more bespoke experience, more control and minimal disruption.
Fitness products and brands travel with their customers. As fitness routines have become a daily lifestyle component for so many of us during the pandemic, it’s important to ensure your guests have access to the facilities they’re used to on their travels. For those guests who want to continue their wellbeing journey throughout their stay the following things are important:
- Workout tracking
- On-demand training
- Daily workout suggestions
More and more hotels are starting to offer in-room equipment, such as treadmills, exercise bikes, dumbbells and exercise balls. Some hotels are offering “work-in, work-out” promotions, featuring second adjoining rooms to be set up as working or gym facilities, with virtual training services. The Hilton’s Five Feet to Fitness concept blends the traditional hotel room with a fitness centre, with 11 different equipment and accessory options into the hotel room, along with a touch-screen display with bespoke exercise tutorials to guide guests through workout routines. Kempinskihotels has introduced “fit rooms”, upgraded suites in select hotels that come complete with in-room workout solutions and on-demand fitness services as well as personal guided sessions with a virtual trainer, accessed via a QR code.
- If your guest profile represents business travellers who want to maintain their daily workout routine then in-room equipment could be worth the investment.
- If your core demographic is leisure travellers who prefer a trip to the on-site facilities and keep their room for sleeping and relaxing then the emphasis must go elsewhere.
Of course, not everyone has the budget to offer additional in-room facilities or high-tech-enabled equipment but there are other ways to ensure the in-room experience is geared towards optimum wellbeing.
The in-room offer doesn’t have to include physical fitness equipment but the simple addition of mindfulness, meditation and basic stretching exercises on the room TV is a cost-effective way to improve the wellbeing experience. You could also include recommendations for fitness apps or nearby walking routes and include different types of cushions or weighted blankets.
The wellbeing offer doesn’t just extend to corporeal fitness. On the room service menu, offer a good mix of organic and local produce where possible as well as flagging up available healthier options or offering niche extras such as protein drinks for the more dedicated fitness fans.
However, an in-room wellbeing experience is an ongoing one and cannot be delivered in a silo. Only by aligning all aspects of your organisation in the wellbeing philosophy will you be able to ensure your guests get the experience they have come to expect and will keep them singing your praises and coming back for more.
Source: https://www.lifefitness.com/en-eu/customer-support/education-hub/blog/how-to-ensure-your-guests-have-an-enjoyable-in-room-wellbeing-experience

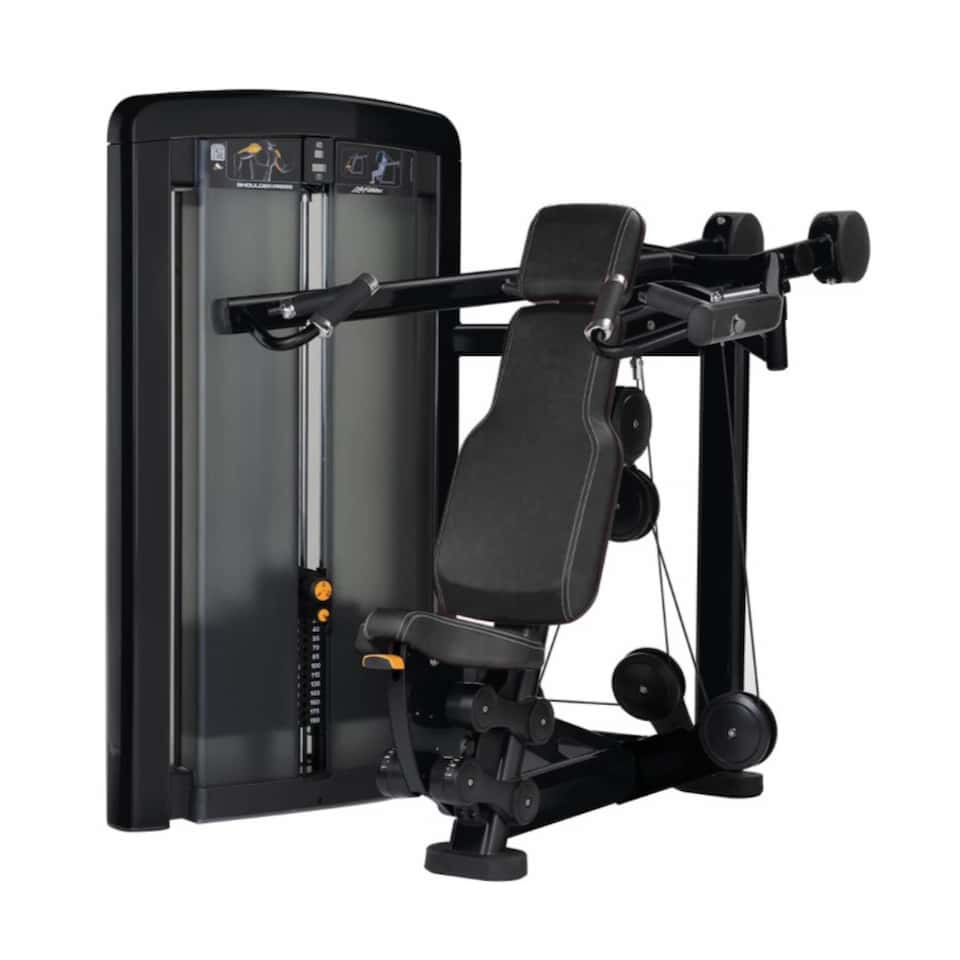
When it comes to strength training, shoulders often don’t receive as much attention as abs, biceps or chest. Yet, strengthening your shoulders contributes to a balanced physique and boosts your functional strength. Robust shoulders enhance your overall lifting abilities, stabilise your upper body and protect against injuries that can occur from other workouts.
This is where the shoulder press machine comes into play. This equipment is essential for anyone looking to enhance muscle definition and upper body strength. With its user-friendly design and powerful impact, this machine allows you to push your limits safely and efficiently.
In this article, we’ll discuss how to do machine shoulder press exercises and why they should be a staple in your fitness regimen.
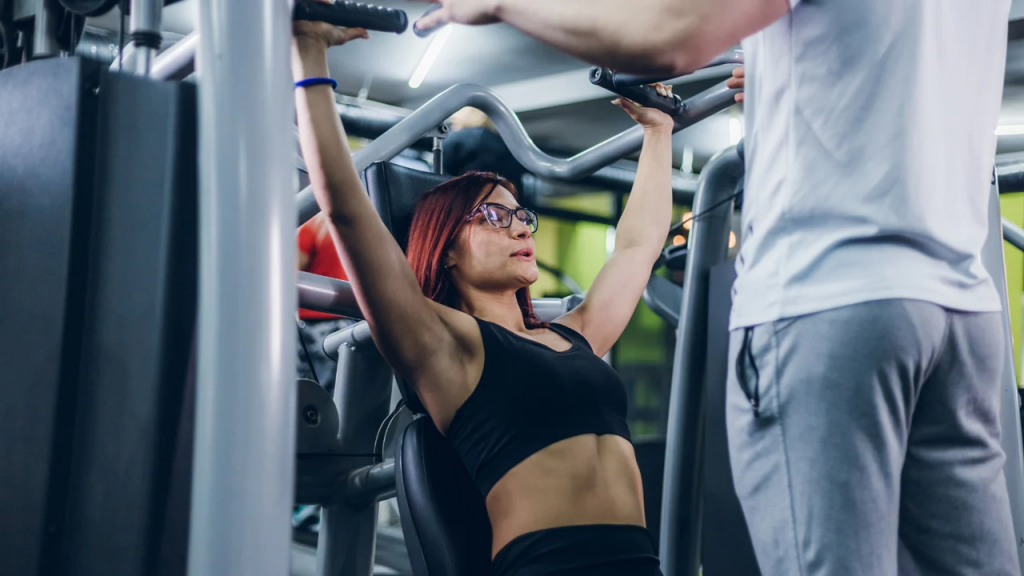
The shoulder press machine targets the deltoids through a seated overhead press. Unlike free weights, it operates with fixed resistance and directs your movement along a preset path.
You sit upright and push handles or a bar upwards, connected to a weight stack via pulleys and cables. The resistance level can be easily adjusted by changing the position of a pin in the weight stack or by adding or removing plates.
When executed correctly, shoulder press machine exercises can push your limits and lead to a more resilient physique.
Learn how to use a shoulder press machine by following these steps:
Here are five shoulder press machine benefits that make it a valuable addition to your gym setup:
The shoulder press machine focuses muscle stimulation directly on the anterior (front) and medial (side) deltoids. Well-developed deltoids contribute to a broader, more muscular upper body appearance.
This direct stimulation effectively breaks down muscle fibres, and as these fibres repair, they grow back stronger and larger. Regular use of this machine can both shoulder strength and definition in no time.
The shoulder press machine follows a fixed trajectory, making it easier to isolate and strengthen the shoulder muscles. This focused approach minimises the involvement of auxiliary muscle groups, which often share the load in more complex exercises.
When using dumbbells for seated shoulder presses, many people mistakenly complete the movement with the dumbbells above their thighs at the peak. This shift in position redirects tension from the shoulders to the traps and upper back.
The shoulder press machine addresses this issue by ensuring continuous tension on the deltoid muscles throughout the entire range of motion. This fully activates the target muscles, enhancing the impact of the exercise.
Performing overhead presses with dumbbells and barbells demands precise form. Without proper technique, there’s a high risk of injury. In contrast, the shoulder press machine offers enhanced stability and safety by guiding you along a predetermined movement path.
While the machine shoulder press mainly targets the shoulder muscles, it also helps enlarge and strengthen the biceps and triceps. This makes it an ideal low-intensity finisher for your arm workout.
If you’re just starting your fitness journey, learning how to do a shoulder press machine workout lets you master proper form and technique without the risk of injury. Its fixed motion path creates a safe and controlled environment, allowing you to focus on each repetition without the additional challenge of balancing weights.
Additionally, the adjustable resistance allows beginners to start with lighter weights and gradually increase the load as their strength and confidence grow.
For advanced lifters, the machine encourages maintaining a full range of motion with correct form. It reduces the temptation to cheat the movement, a common issue when using free weights. This ensures that each rep is executed with precision, enhancing the benefits of every movement.
For optimal results and safety, consider consulting a fitness professional to ensure that the shoulder press machine is used correctly according to your specific fitness needs and health conditions.
Source: https://www.lifefitness.com.au/how-to-do-machine-shoulder-press/
A:You have probably heard this phrase many times before: ‘The best medicine is exercise.’ When we review the work of academic journals worldwide regarding how one should manage musculoskeletal disorders, such as low back pain, neck pain, shoulder pain, and osteoarthritis, restorative and therapeutic exercise methods such as Pilates are frequently considered first before other forms of intervention.
When we don’t activate the right muscles or they’re not being fired at the right time or in the right way when we move, this will lead to neuromuscular control imbalances, which are a leading cause of injury and poor performance.
Pilates is a great tool for assessing how a client is performing many different movements, providing us with valuable information about why they might have pain in certain areas and what they will need to work on to restore optimal movement and alignment.
Also, considering one of the most important training principles— the variability principle— Pilates offers us thousands of exercises with modifications and equipment options to be able to create a specific program for every type of client, from rehab to pro athlete. We’re using Pilates exercises to help clients transfer and manage loads efficiently.
That’s why for Pilates instructors it is so important to review and know a lot about anatomy and biomechanics. If we’re able to think about all the modifications we can provide (rhythm, breathing pattern, equipment, closed or open kinetic chain, resistance, type of muscle contraction, etc.) and adapt the exercise in each phase, we will be able to apply this powerful method to every situation and client.
A:Low back pain is a multifactorial disorder with a high prevalence. Most people experience back pain at some point in their life. The main guidelines worldwide recommend supervised exercise therapy as the first line of treatment and Pilates is a great opportunity to apply that.
Approximately 85% of low back pain is unspecific; that means we don’t know what’s causing the pain and there’s no X-ray finding. Fourteen percent are related to disk or joint conditions and 1% are known as red flags – severe conditions. That’s why it’s really important that you obtain a clear medical diagnosis from your client before starting them on an exercise program.
To really provide an effective Pilates program, we need to know and understand what neuromuscular imbalances were found in these patients to make the correct adaptations.
From there, we will establish objectives and specific exercises. Here are some of them:
There’s no way to provide a general recipe of exercises because each patient needs to be assessed individually. Once we have that information, we can tailor the program to their needs.
However, here are the main guidelines I use to work with my low back patients. (Note: It’s important to know their diagnosis first in order to adapt this structure.)
There’s no reason why people with low back pain cannot practice Pilates because they will find it to be a safe and effective exercise method to improve their function and quality of life. Let’s work to help people live better.
Source: https://www.merrithew.com/blog/post/2019-10-08/ask-the-expert-what-makes-stott-pilates-effective-for-rehab-and-injury-prevention
Buying cardio equipment is a lot like buying a car.
It’s a major purchase most people make only once every several years. The market changes a lot between buys. And with sales of home fitness equipment up by triple-digit percentages since the onset of COVID 19, there are more new or first-time shoppers than ever.
Perhaps you’re one. If so, we’re here to help you make sense of the marketplace. Because just as today’s cars have more technology baked into them than ever before, treadmill consoles nowadays are capable of things that were unheard of even five years ago. To get the most for your money, your buying process should involve three steps:
- Understand the options available
- Determine which options you need
- Find the right fit for your budget
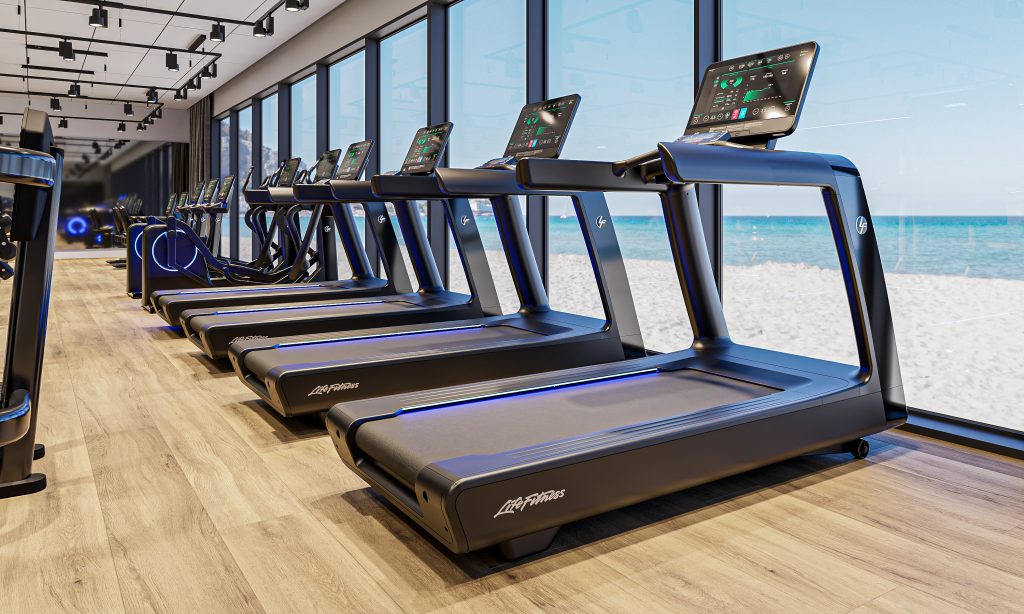
This guide walks you through Step #1. In the sections that follow, we’ll dive deep into treadmill consoles. We’ll explain how console display layout can affect your comfort and safety on the machine. And we’ll explore new connectivity options and what they can do for you.
By the end, you’ll be ready to find the right match for you.
Why focus so much on the console? While the “ride” underfoot certainly matters, the surface of any fitness equipment you consider should be durable, provide excellent shock absorption, and feel good. That’s table stakes.
The console, meanwhile, is where all of your thinking interaction with the machine takes place. It’s what greets you every time you step onto a cardio machine, be it a treadmill, bike, elliptical or arc trainer. And consoles vary greatly from manufacturer to manufacturer.
A good console gets you into your workout quickly, connects to your devices without hassle, and — if you ever get bored — is capable of presenting you with new training options.
To meet its many requirements, a console control board ought to have a clear visual hierarchy, where:
- Most-used buttons are the largest. Fun fact: That means “go”, “stop” and “cool down” need to be unmissable and located toward the center.
- The second most-used items on the control board are speed and incline. These also should be large and centrally located. One-touch options for preset speeds are also nice.
- Entertainment features like device connectivity or TV controls should be on the periphery.
- Additional workout programs need to be available — and recognisable. Time-tested training protocols like intervals or hills remain in high demand.
- The console display ought to be big enough where you can clearly understand messages on its LED or LCD display.
Finally, don’t forget about the reading rack, which nowadays doubles as a smartphone holder more often than not.

Now that we’ve discussed “what” must be on a console control board, let’s examine your options for “how” that information can be presented.
Broadly speaking, you have three categories of options. In order of increasing entertainment value, they are:
LED Consoles — The classic, basic workhorse. On LEDs, you push buttons to control the device and read data written in LED lights. Good for people who want to just hammer out miles or meters and who don’t need a lot of frills.
LED/LCD Hybrids — These units have some push-buttons and LED info positioned around an embedded video screen. Good for people who want their viewing experience on the console but who may not need the full-on touchscreen experience.
Tablet-style Touchscreen LCDs — Basically a high-end iPad mounted on cardio equipment. These displays have the most flexibility and premium features like streaming workouts;
Another key thing to consider: Accessibility. The larger the display area is on a unit, the bigger its messages can be presented. Bigger sizes let the unit say more (helpful for maintenance situations or software updates) and or use larger font sizes.

More exercisers are using more devices in more ways than ever before. In fact, sales of bluetooth headsets grew by 200% during 2019, with Apple AirPods alone selling 60 million units within that category.
About 14 million more people purchased a smartwatch during the first quarter of 2020. And remember, those numbers are pre-COVID. It’s easy to see why “wearable devices” is the #1 trend influencing fitness for four of the past six years, according to the American College of Sports Medicine.
So where 20 years ago people might roll up on a treadmill with a heart rate monitor if anything, today’s trainees come equipped with a smartwatch and a killer set of headphones — and all of them are wireless.
To meet the needs of those many devices (and different brands of device makers), a console needs to offer an alphabet soup of connectivity, including:
- ANT+ lets wireless devices “talk” and relay data to each other. Started with the popular Garmin series of watches/devices, and has expanded over time.
- Apple® GymKit works seamlessly with Apple Watches to share data between watch and device. The watch tracks calories and handles heart rate monitoring while the treadmill records metrics like pace and distance.
- Bluetooth® (or BLE) works on anything from heart rate straps to BEATS-style headphones.
- NFC is a short-range sensor technology most known for it’s use in “tap to pay” credit cards. On a treadmill, it makes syncing with your iPhone or Android super easy.
- Wifi — yes, like in your laptop — is a helpful way to transmit larger amounts of data to your cardio equipment. Useful for tracking treadmill use, maintenance needs, and offering premium content like streaming workouts.

Source: https://www.lifefitness.com/en-eu/customer-support/education-hub/blog/top-quality-design-features-to-consider-when-choosing-your-cardio-console
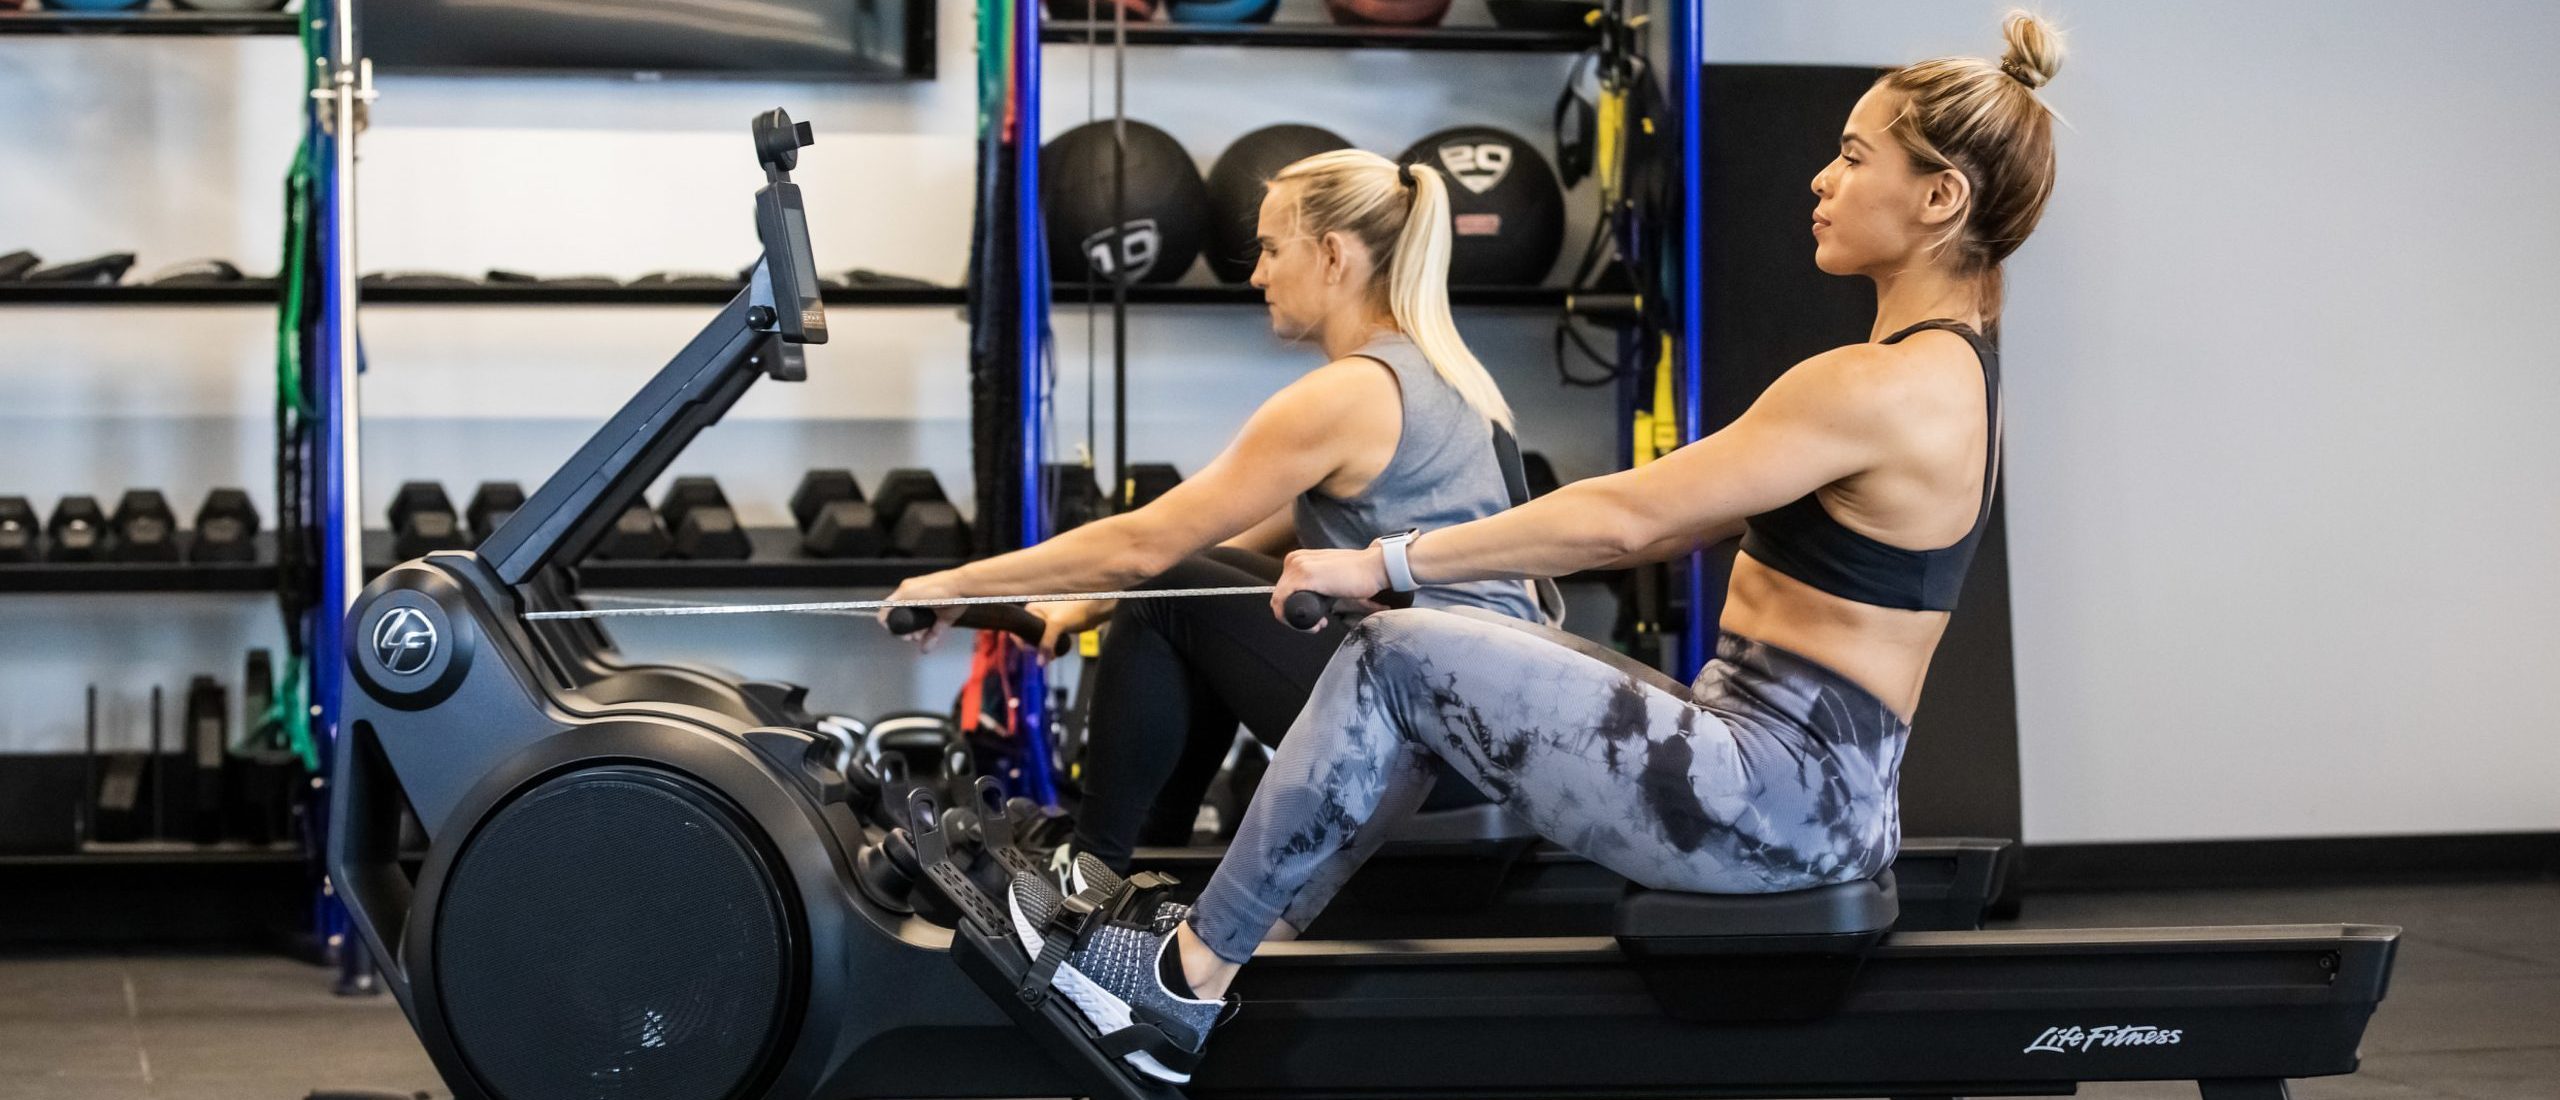
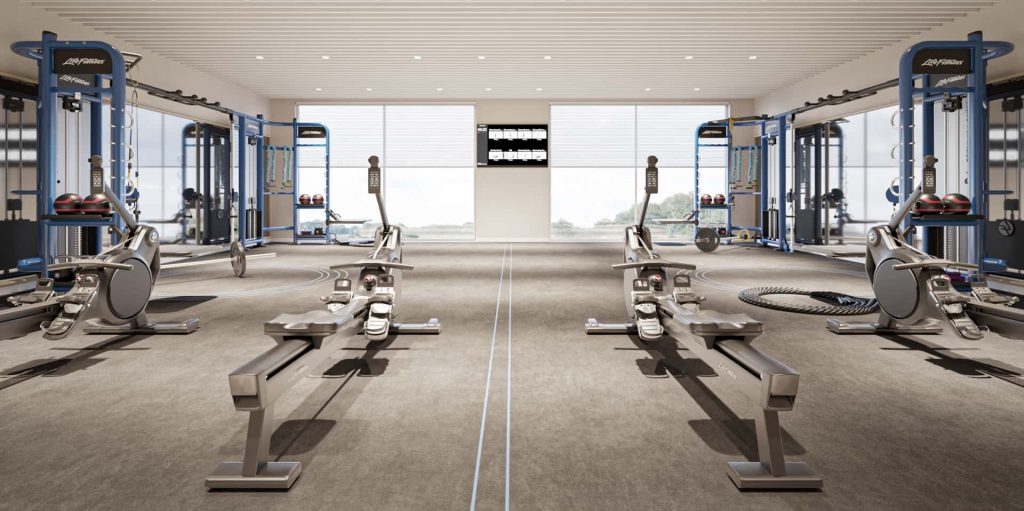
The use of rowing machines at health clubs has consistently increased over the last decade largely because they provide a great high-intensity, low-impact workout. It’s important to ensure that form and technique are correct to get the most out of the rowing experience.
To start, it’s best to know the four distinctly different stages of the rowing stroke:
Whether you are in an actual boat or on a rower, it helps to imagine the hydrodynamics involved in rowing. Power is delivered during the “catch” phase when the oar hits the water, and the body in the most compact position is ready to explode with controlled power. This portion of the movement is what actually moves the boat on the water. Maximum power is delivered in the first half of the movement while the second half controls the taper of power with the maintenance of technique.
Since rowing requires consistently reversing directional movement patterns, a taper of energy in either direction helps control the amount of energy required throughout the entire movement. Mastering the technique of rowing can help an individual maximize the efficiency of their energy expenditure regardless of their level of fitness.
The power of the catch phase is distributed to the oar to move the boat on the water. The finish phase is at the end of the range of motion, after the power has already been delivered to the oar. The oar comes out of the water and the individual returns to reset their body into the ideal compact position necessary for the catch phase to deliver power again. At this point the torso is tall and the back is flat right before you push off. Ideally at the end of the range of motion, the powerful velocity created throughout the movement has been reduced to zero.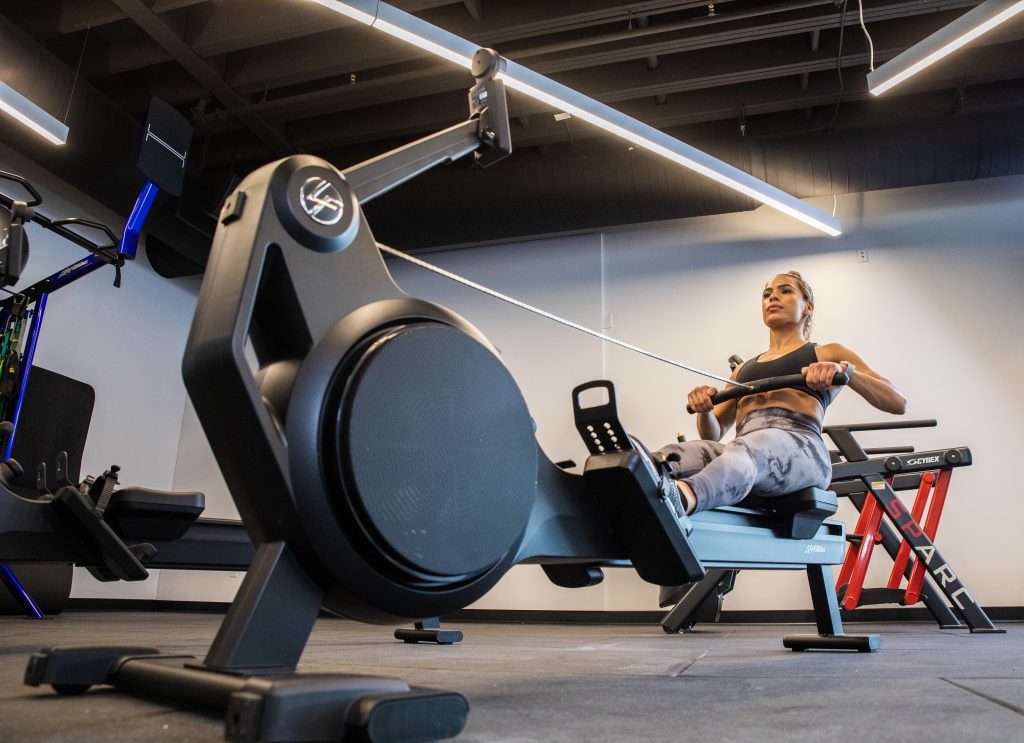
Whether you are just starting out or you have been rowing for years, try not to forget these technical reminders while rowing.
Source: https://www.lifefitness.com/en-eu/customer-support/education-hub/blog/understanding-the-basics-of-rowing